
Get Your E-Commerce Products Indexed on Google
To supplement a well-optimized e-commerce website and landing pages, you can set up Google Merchant Center to get your products into Google’s organic shopping index. This will get your products on the Shopping tab on Google and also help your products show up on the results page.
There are three solid options for getting your e-commerce products indexed on Google:
- Sync products with Merchant Center via new integrations
- The Google Listings & Ads plugin from WooCommerce
- The Google channel in Shopify
- Manually set up Google merchant center
- Setting up a website crawl within Google Merchant Center
- Sync products with a Google sheet template
Sync products from WooCommerce or Shopify automatically
If you’re using WooCommerce or Shopify, it’s easy to start syncing your products to Google directly from your site. Utilizing a plugin or an API will ensure that your shopping listings stay consistent and up-to-date when you make any changes to your products.
Integrate your e-commerce products with the Google Listings & Ads Plugin from WooCommerce for WordPress
It’s recommended to use the Beta WooCommerce plugin: Google Listings & Ads. Using the plugin is a definite way to keep your products accurately updated, synced and available for purchase across Google.
With Google Listings & Ads you can sync your store with Google Merchant Center to keep your free listings updated seamlessly. Also, with the plugin you can run paid ads and track listing performance.
How to install and configure the plugin
To get started, download the plugin and follow the setup instructions. You can choose either automatic installation or manual installation.
Automatic is a lot easier since it essentially only involves searching for the plugin from your WordPress dashboard. Here’s how to get started with the automatic installation setup:
- Go to your WordPress dashboard > Plugins > Add New
- Search “Google Listings and Ads”
- Click “Install now”
After you’ve completed the initial set up, your products will automatically sync in preparation to be used for the free Google listings.
Once everything is set up with the plugin, create a Google Merchant Center account to connect your store. If you already have a Merchant Center Account, you can simply link your store to begin syncing your products for free listings.
This integration makes it very easy to manage free listings and product updates that will help customers better access your offerings across Google Search, Google Shopping and Google Images.
Sync your products to Merchant Center using the Shopify’s Google channel
If you’re on a Shopify site, the Shopify Google channel helps automatically sync your products and information about your store with the Google Merchant Center. Setting this up takes the manual work out of getting your products listed on Google.
Here’s how you can set up free listings with the Google channel:
- Install the Google channel from the Shopify store
- Connect your Google account
- Add relevant information about your shop to complete the Store requirements checklist. You must make sure that your site complies with the requirements before you can finish setting up your listings.
- Select the Free Listing option in the Overview tab and then connect your Google Account with your Merchant Center account.

Then, select the Target Market and Shipping settings. Follow the dropdown lists for each item.
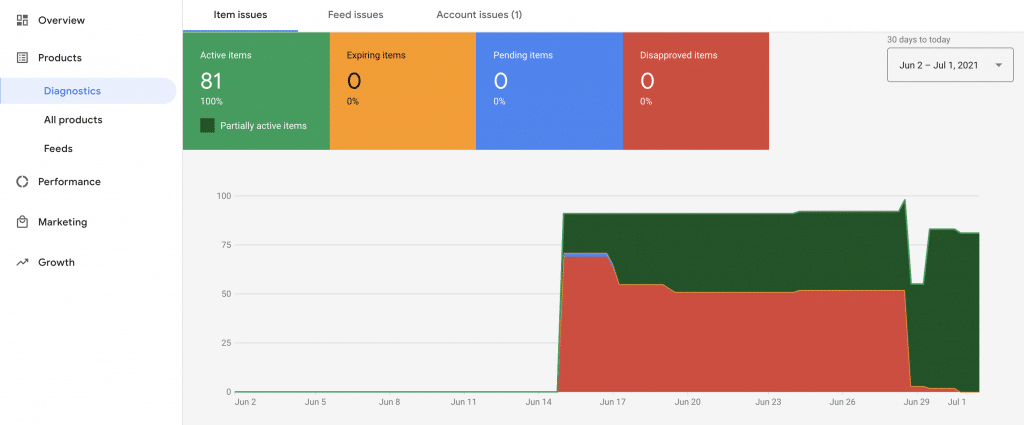
Once you’ve completed the setup within Shopify your products will automatically start syncing. Keep track of the status of your listings in the Diagnostics tab in Merchant Center.
Under Products > Feeds, your primary feed will say “Content API” which is how your products are syncing from Shopify. If initially you see that there are some errors, wait a bit for everything to get connected and then follow Google’s steps to correct any mistakes with your product or account information.
The following setup options involve more manual input and management. This may be an easier option for you if you have a smaller site or if you prefer to work directly within Google Merchant Center.
Manually syncing your products within Google Merchant Center for any e-commerce site
You can still sync your products to Google Merchant Center for free product listings even if you don’t have a Shopify or WooCommerce site. While this method involves a bit more manual entry to get started, the product listings are the same as they would be if you used a plugin or API.
Set up a website crawl in Google Merchant Center
After selecting your setup method, enter your website URL in the Product and Business Information section so Google can start crawling your site and identifying products.

Also make sure to add the remaining information in this section to ensure all your information is accessible to Google and users.
Once your website URL is added, Google will crawl your site to identify products and make it easy to get your products uploaded to the dashboard. It can take up to 30 minutes for all the products to sync from the crawl. When the products are synced, it can take up to 3 days for them to be approved and verified by Google. If this is your first time setting up Google Merchant Center, it can take longer for your products to get approved – sometimes up to a few weeks.
Your website crawl will be added as a product feed named “Website crawl” which you can access under Products > Feeds.
Add a Product Feed to Google Merchant Center with Google Sheets
Aside from the options mentioned above, you can manually enter information on Google sheet template that Google Merchant Center will set up for you. Here’s how to start:
- After you’ve exported your products from your site, create a new Primary Feed in Merchant Center.
- Go through the basic set up process and then select Google Sheets as a connection option.

- Continue syncing your Google account so that Merchant Center can create a Google sheet for you to input information from your products.
- Once you’ve got the Google sheet and your product export you can copy and paste information from your Shopify products into the Google sheet.
Here’s how you can find your Google product category number.
- Within the Google sheet you’ll be given two resources to help you fill out the sheet:
- Once you’ve gotten everything added to the Google sheet, go into the Feeds view of Merchant Center and click “Fetch Now,” which will push the information from the Google sheet into Merchant Center. Once this is complete you’ll be able to see the listing status and if any products have issues.
This is an alternative, yet reliable, option for setting up your free product listings. You can easily update the spreadsheet and see everything in one place.
Creating an easy Google Shopping experience for users
Aside from making sure all your products in Google Merchant Center are accurate and up-to-date, it’s very important to have a good page landing experience on your website’s product pages. Using the free listing feature brings users to your site, so if those landing pages aren’t an accurate representation of your product offerings, users could be turned off from your business.
To get a more well-rounded shopping listing experience, it’s recommended that you connect your Google Ads account as well.
Remember that indexing your products to Google by using Merchant Center is just one aspect of providing a seamless and enjoyable e-commerce experience for users